

Improved recovery can also be trained.
If you've just finished a strength training, running, or HIIT session and are wondering how long to use a massage gun and on which areas to apply it , this guide provides a straightforward, safe, and easy-to-follow answer. You'll also see how to integrate it into a complete recovery routine using the approach of Kumo , a brand specializing in premium technologies to make recovery a daily habit (you can explore the Kumo universe here: Kumo Balance ).
What a massage gun can and can't do after training
A massage gun (also called a percussion device ) applies rapid pulses to soft tissue to help you:
- Reduce the feeling of stiffness and muscle "burden".
- Improve tolerance to movement and the feeling of "looseness".
- Gaining acute mobility in some muscle groups (depending on the protocol).
The scientific evidence on “recovery” is promising but not miraculous. For example, a 2023 systematic review on massage guns (11 studies; most with a moderate risk of bias) concludes that they can be useful for improving flexibility , while the effects on performance (power, agility, etc.) are more variable and sometimes neutral or even negative depending on the context and timing ( The Effects of Massage Guns on Performance and Recovery: A Systematic Review, 2023 ).
Regarding delayed onset muscle soreness ( DOMS ), it's important to understand the timeline: it usually appears and/or intensifies 1–3 days after exertion and resolves within a few days if there is no injury ( Cleveland Clinic — DOMS, updated 12/19/2025 ). At this point, a massage gun can help you feel better, but it doesn't always "shorten" the process: in a randomized controlled trial (comparing percussion vs. foam roller vs. rest), no clear differences were observed compared to passive rest in relieving DOMS in measurements at 24–48 hours ( PubMed — RCT on DOMS and percussive massage ).
In summary: use it as a tool for sensation (less stiffness, more comfort when moving) and acute mobility , not as a substitute for sleep, nutrition, or training planning.
When to use the massage gun after training
1) Right after finishing (first 10–30 minutes)
This is a good time if your goal is to reduce tension , "deactivate" overworked areas, and finish your workout feeling better. Think of it as a brief mechanical cool-down : short periods of time per area, light pressure, and continuous movement.
2) Later that day (6–12 hours)
Ideal if you experience stiffness when you cool down (for example, after sitting or at the end of the day). Keep sessions short and prioritize the areas that most limit your mobility (calves, quadriceps, glutes, back muscles, etc.).
3) Subsequent days (24–72 hours)
This is the typical window for DOMS ( Delayed Onset Muscle Soreness). Here, the massage gun can be useful for symptom relief and for moving around with less discomfort. Keep the intensity very tolerable: if you overdo it, you may end up more sensitive or with bruising.
Recommended times: how much per area (simple and safe dosage)
In home use, less is often more. A very practical clinical tip is:
- Start with 10–30 seconds per zone when you are learning.
- Do not spend more than 2 minutes per muscle group in a single session.
- Keep the head moving and over muscle , avoiding joints and bone.
These guidelines are consistent with informational recommendations from a medical center (UCLA Health) on the use of massage guns, including the 2-minute limit per muscle and starting with 10–30 seconds ( UCLA Health — guide on percussive therapy ).
However, longer durations have been used in the laboratory to measure specific physiological changes. For example, a 2023 study observed increased flow in the popliteal artery with localized "massage gun" vibration, with flow volume increases of 24% and 32% (38 Hz, 5 and 10 min) and 31% and 47% (47 Hz, 5 and 10 min) ( Effect of Localized Vibration Massage on Popliteal Blood Flow, 2023 ). This doesn't mean you should replicate 10 minutes at home: in research, pressure, area, and risk are controlled; for self-care, the priority is safety and consistency .
Quick table: key times and zones after training
| Area | Typical objective | Recommended time | Practical intensity | Execution tip |
|---|---|---|---|---|
| Calves | Stiffness when walking/running | 30–90 s per leg (max. 2 min) | Low to medium | Travel from Achilles to the popliteal fossa, without "driving" behind the knee |
| Quadriceps | Post-squat/run load | 45–120 s per leg (max. 2 min) | Low to medium | Avoid the kneecap; work the "belly" of the thigh |
| Hamstrings | Posterior thigh strain | 45–120 s per leg (max. 2 min) | Low to medium | Don't go past the crease of the knee; maintain continuous movement |
| Buttocks | Download hip and lower back support | 45–120 s per side (max. 2 min) | Average (according to tolerance) | Explore in a wide, sweeping motion; avoid direct impacts on bony ridges. |
| Dorsal/upper back (muscular area) | Posture, pull-ups, swimming | 30–90 s per side | Low | Don't "hit" the spine: stay on lateral muscle masses |
| Pectoral (muscular part) | Shoulder opening post pushes | 15–45 s per side | Low | Very gentle and superficial work; avoids the clavicle and joint. |
| Forearm | Climbing, tennis, gym | 15–45 s per side | Low | Pass through muscle mass, avoiding wrist/elbow and tingling areas |
Golden rule: If you notice sharp pain, tingling, loss of strength, or a clear increase in sensitivity in the area, stop the session.
Key areas: how to apply it so that it really helps you
Legs (the foundation of most workouts)
- Calves: useful if you experience "stick legs" after running or jumping. Do slow repetitions (without pressing hard) and change the angle of your foot to target different muscle fibers.
- Quadriceps: Focus on the center of the thigh and the lateral area if you're coming from squats, lunges, or cycling. Keep the device away from your kneecap.
- Hamstrings: especially after deadlifts or sprints. Avoid the back crease of the knee.
- Glutes: a great area to improve the feeling of "free" hips. If you have trouble reaching, lean against a wall or use a stable posture.
Upper back and shoulder (without touching delicate structures)
In the upper body, a massage gun can provide comfort, but it requires more precision:
- Latissimus dorsi and teres major: these muscles are typically worked with pull-ups, rowing, and swimming. This exercise works the lateral part of the back, not the spine.
- Posterior deltoid: useful if you notice tension after pushing/pressing and back work.
- Trapezius: if you work it, do so gently and with muscle mass, without getting too close to the front/side of the neck.
Arms and forearms (low dose, close monitoring)
These areas have more tendons and nerves nearby. It's best to use micro-sessions (15–45 seconds) and low intensity. If you experience tingling or a feeling of fullness, stop immediately.
Areas to avoid and important precautions (safety first)
A massage gun is not a toy: it delivers repeated impacts. Avoid these areas:
- Neck (especially the front and sides): due to the presence of vascular and nerve structures. There is a clinical case published in 2022 that describes a vertebral artery dissection after repeated use on the neck ( Case Report: Vertebral Artery Dissection After Use of Handheld Massage Gun, 2022 ).
- Bones and joints: kneecap, ankle, elbow, wrist, clavicle, bone ridges.
- Spine: do not pass the head over the spinous processes; stay on the lateral paravertebral muscles and move gently.
- Areas with acute injury, hematoma, marked inflammation, or sharp pain .
And pay attention to situations where prior medical consultation is advisable, or at the very least, an ultra-conservative approach: if you are taking medications that increase the risk of bruising (for example, anticoagulants), deep pressure may not be appropriate. The American Massage Therapy Association explains that certain medications can promote bruising and recommends adapting or avoiding deep pressure techniques ( AMTA — Massage and Medication ).
Quick checklist: Look for "enjoyable and helpful," not "painful and heroic." High-level recovery is smart, not aggressive.
Post-workout routine in 8–12 minutes (step by step)
- Breathe and lower your heart rate (1–2 min): walk gently or pedal very lightly.
- Choose 3-5 "top" areas of the day (legs, glutes, back, etc.).
- Start with 10–30 seconds per zone (low intensity), moving slowly.
- Only go up if your body accepts it : look for a tolerable pressure sensation (without sharp pain).
- Do not exceed 2 minutes per muscle group in this session.
- Finish with gentle mobility (assisted deep squat, unloaded hip hinge, thoracic rotations): 2–3 minutes.
If you want to integrate a massage gun with a premium and minimalist approach (without complicating things), Kumo's proposal in this category is the KumoPulse Air massage gun , designed to work deep tissue with control and make recovery a natural part of your routine.
How to complement the massage gun with other Kumo technologies (without “over-recovering”)
Effective recovery is often multifactorial . If your training week is demanding, combining tools can help you be more consistent:
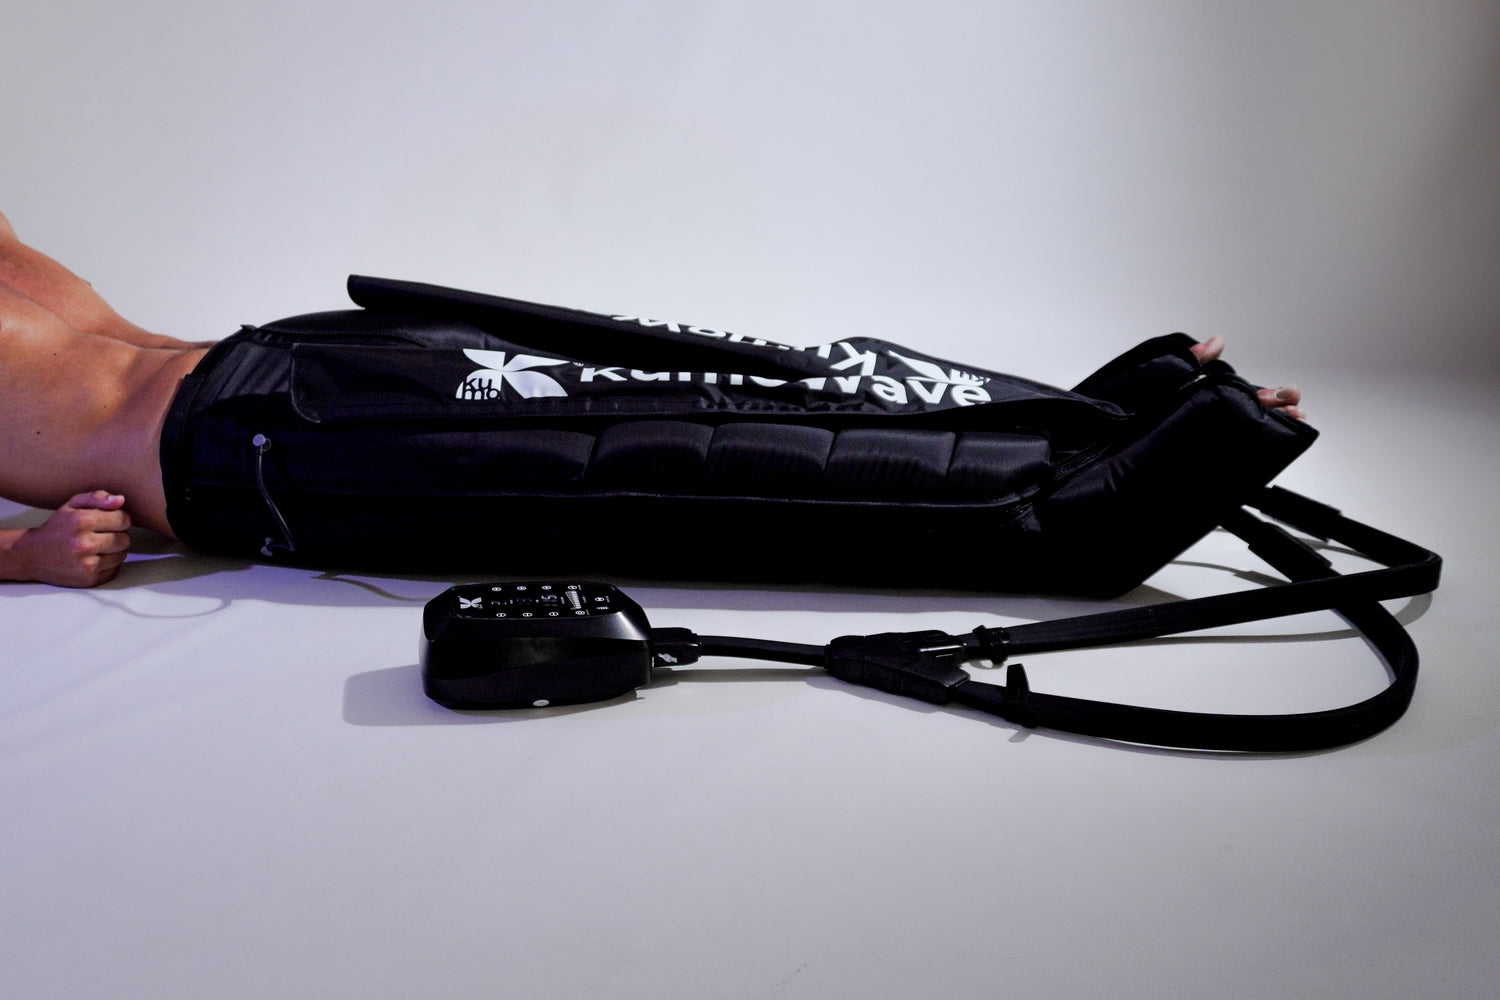
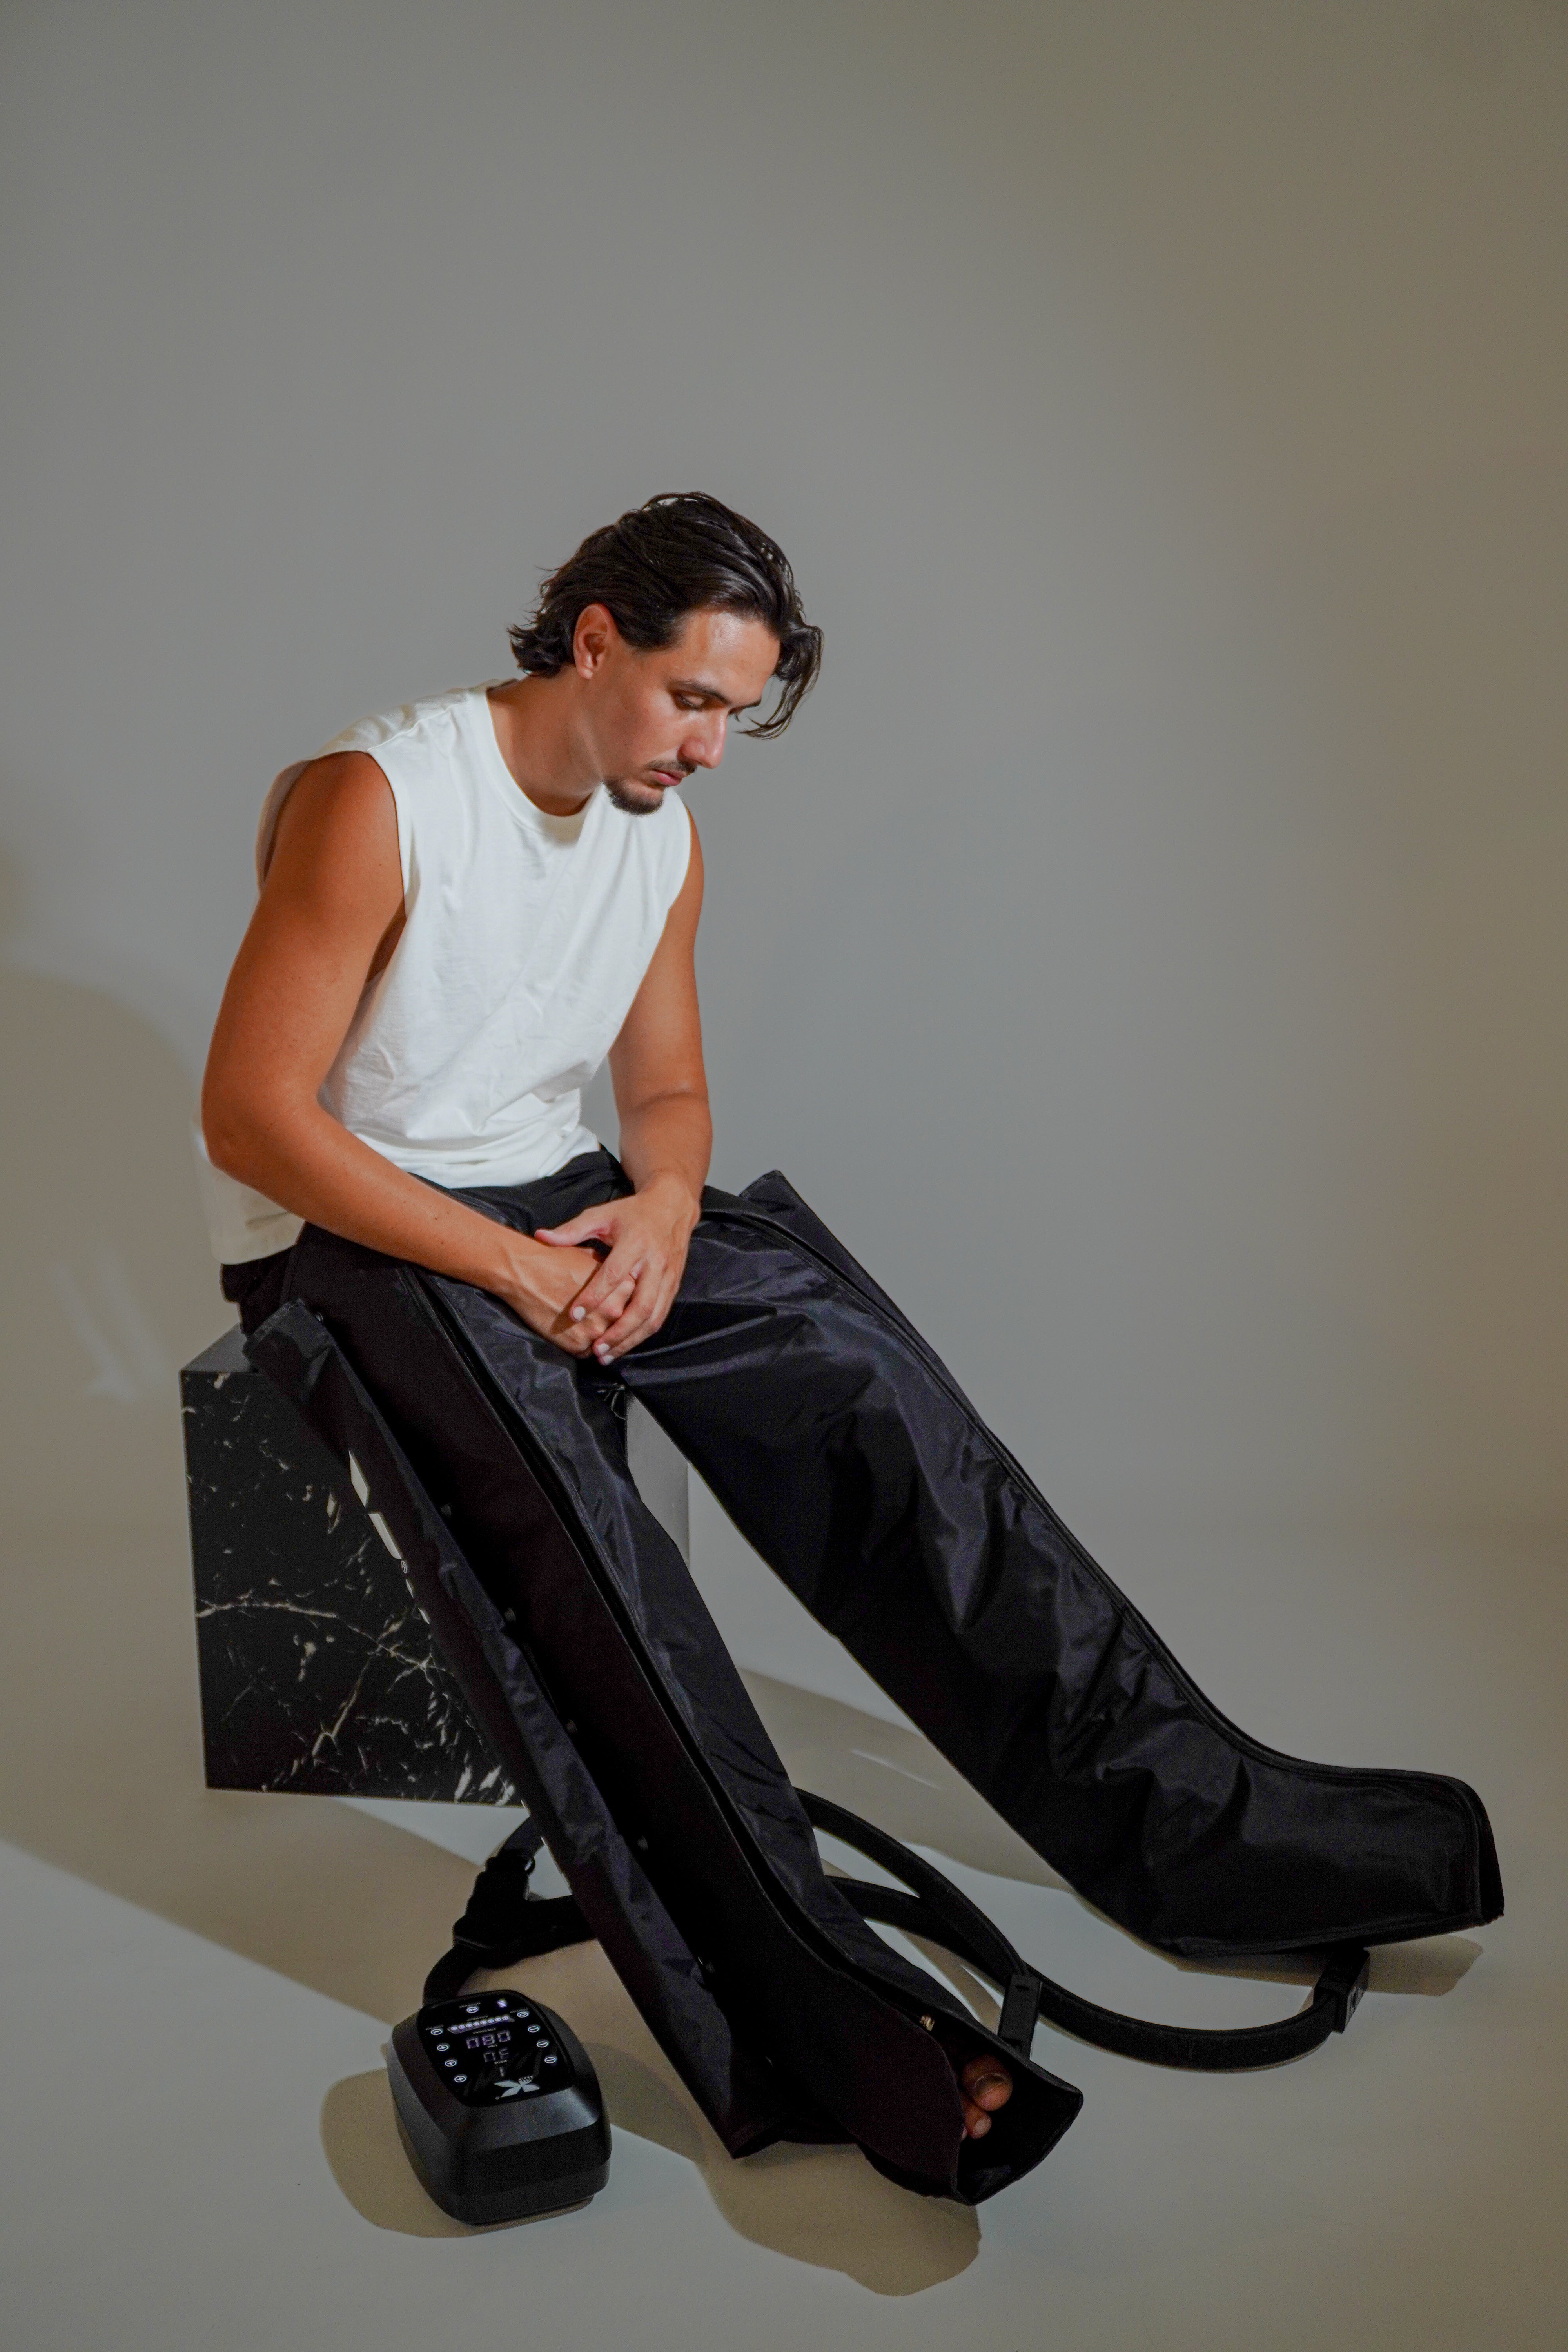
- Compression therapy for heavy legs: useful when you're looking for a feeling of lightness after long hours on your feet, travel, or intense training sessions. Discover Kumo's collection of compression boots .
- LED light therapy/red light therapy: In wellness protocols, it is often used to support recovery and rest routines (without replacing habits such as sleep and nutrition). You can see LED light therapy at Kumo.
The key is not to do endless sessions: better a little, well and frequently than a lot and sporadically.
Common mistakes when using a massage gun (and how to avoid them)
- Staying "stuck" in one spot: increases the risk of irritation. Solution: slow, continuous strokes.
- Seeking pain to "break knots": it's unnecessary and can worsen sensitivity. Solution: moderate intensity, breathing, and control.
- Using it on joints: kneecap, ankle, elbow… Solution: target muscle bellies.
- Apply it to the front/side of the neck: a high-risk area. Solution: If it's the neck, apply it only to the posterior muscles and with extreme gentleness (or choose other strategies).
- Mistaking DOMS for an injury: DOMS is diffuse and appears late; sharp, stabbing pain or loss of function may indicate something else. If it lasts longer than is reasonable or interferes with your daily life, consult a doctor.
Frequently Asked Questions (FAQ) about massage gun and Kumo
How long should I use the KumoPulse Air after a leg workout?
As a practical guide: choose 3–4 large muscle groups (for example, calves, quadriceps, hamstrings, and glutes) and apply the treatment for 30–90 seconds per group, without exceeding 2 minutes per muscle group in that session. Start with low intensity (especially if you have delayed onset muscle soreness, DOMS) and keep the massage head moving. The goal is to leave feeling lighter and with improved mobility, not to overexert yourself. If you notice increased tenderness or bruising afterward, reduce the time and intensity in your next session.
Which areas are best to start with if I'm a beginner using a Kumo massage gun?
To begin, prioritize the most "forgiving" areas (those with high muscle mass and fewer delicate structures): quadriceps, glutes, and calves are usually the easiest. Keep sessions short (10–30 seconds per area initially) and avoid joints, bones, and the front/side of the neck. If you're training your upper body, the latissimus dorsi (side of the back) is also generally well-tolerated, as long as you avoid the spine. After 1–2 weeks, you can adjust the duration according to your tolerance and goals.
Can I use a Kumo massage gun if I have severe DOMS (Delayed Onset Muscle Soreness)?
Yes, but with a strategy. DOMS usually appears between 1 and 3 days after exertion (not during training), and that's when the muscle light can provide symptomatic relief, allowing you to move more comfortably. Keep the intensity low, sessions short, and avoid focusing on a particularly painful spot. Think of "sweeping" the muscle with gentle strokes. If the pain is sharp, there's noticeable swelling, or loss of function, it's best to rule out injury. And remember: the muscle light helps, but it doesn't replace sleep, hydration, and a well-designed progression of training.
Is it a good idea to combine Kumo massage gun with pressotherapy on the same day?
This can be a useful combination if you keep the overall dose under control. A simple approach: use the massage gun first (8–12 minutes) to relieve tension in specific areas, and then use compression therapy if you're looking for an overall feeling of lighter legs. Avoid using both tools aggressively or for too long, especially if you're experiencing significant DOMS (Delayed Onset Muscle Soreness). If the goal is sustained performance, consistency is key: short, repeatable routines tailored to your training week.
Does the Kumo massage gun replace stretching and mobility exercises?
It shouldn't. It works best as a "bridge" to improve your movement: it reduces stiffness and improves body awareness, and then you can take advantage of that to do 2–5 minutes of gentle mobility exercises (hip, ankle, thoracic) or light stretching. In fact, many people notice that after a short session with the gun, movement feels smoother and more tolerable. If you only use the gun but maintain a sedentary lifestyle the rest of the day, the benefit will be more limited.
So what now?
If you want to turn recovery into a simple and sustainable ritual, explore Kumo's solutions (massage gun, pressotherapy, and LED therapy) and create a short routine you can repeat throughout the week. If you need guidance in choosing the most suitable approach for you, you can contact us here: contact the Kumo team .
