

Percussion massage is not about "hitting": it's about applying precise mechanical stimuli to relieve tension and improve mobility.
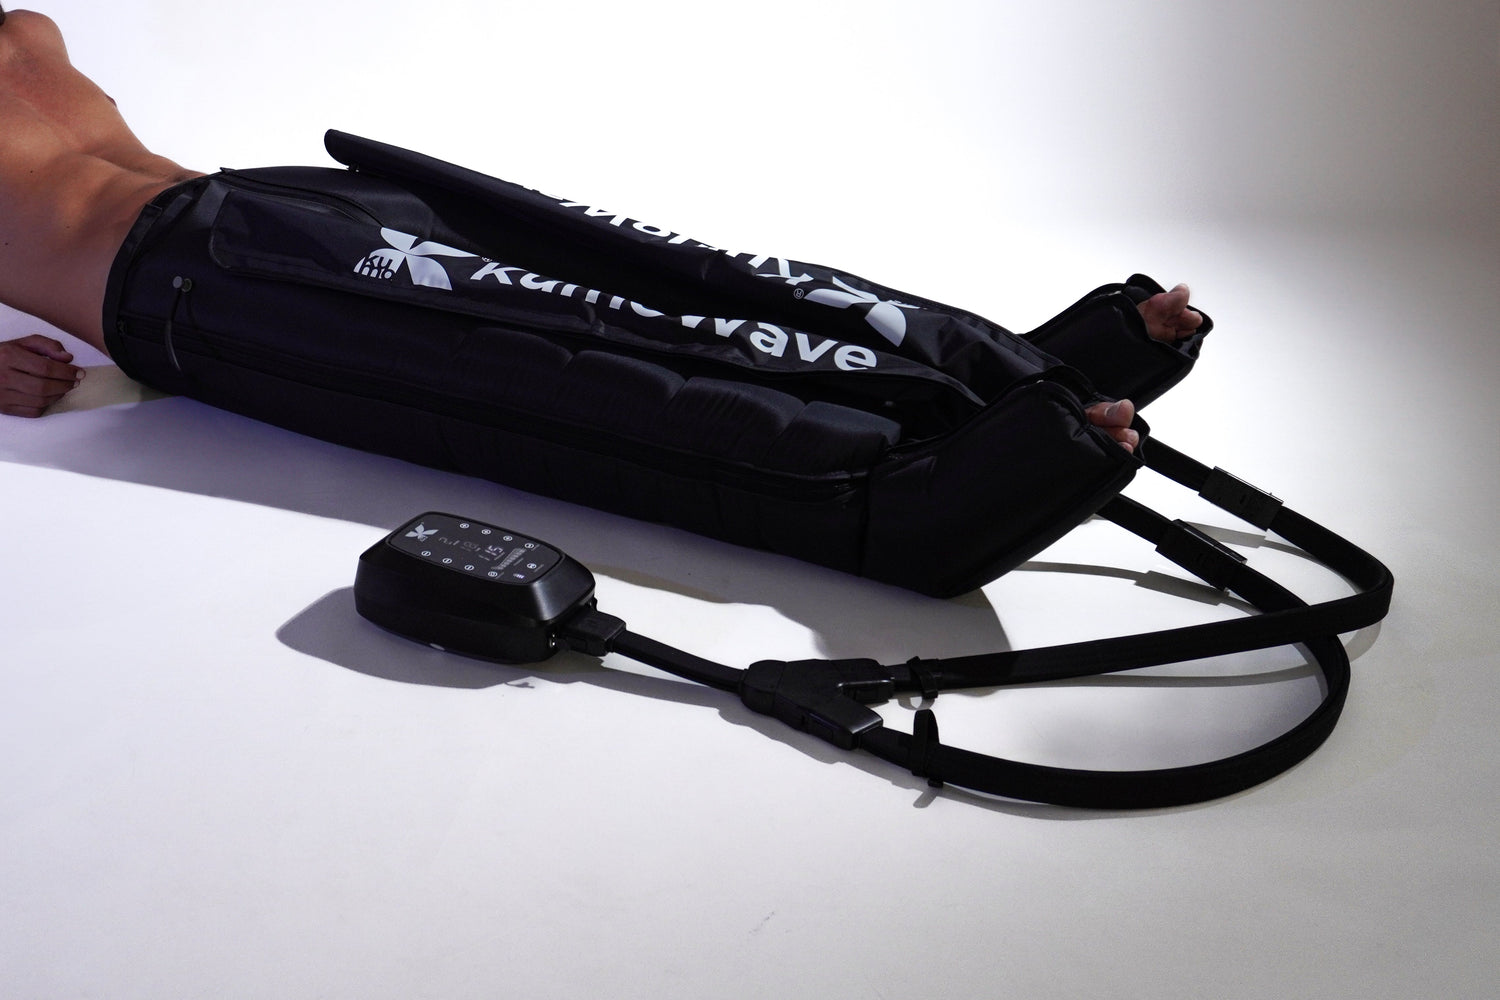
If you own a massage gun (like the KumoPulse Air ), this guide explains how to use it safely and effectively for different muscle groups: legs, back, glutes, and shoulders . You'll find clear protocols (pre-workout and recovery), recommended times, areas to avoid, and common mistakes to ensure your self-care is truly beneficial (and not harsh).
What is percussion massage and what benefits can it provide?
A massage gun applies rapid pulses to soft tissue (primarily the "belly" of the muscle). The goal is usually to:
- Reduce the feeling of stiffness and muscle "burden".
- Improve range of motion (ROM) in the short term, especially before or after training.
- To help modulate pain (e.g., post-exercise tenderness), without replacing professional treatment when needed.
What the evidence says (without promising miracles)
Research on massage guns is growing, but there is still no universal consensus on ideal parameters (time, frequency, pressure) for all cases. A systematic review (2023) concludes that they can help improve flexibility/ROM in the short term , while their use for power or explosive movements may not be advisable. ( pmc.ncbi.nlm.nih.gov )
Specific examples:
- In one study (2024), 5 minutes of local percussive massage of the medial gastrocnemius muscle was associated with a mean increase of ~3° in ankle dorsiflexion and changes in deep fascial stiffness. ( pubmed.ncbi.nlm.nih.gov )
- In another study (2024) following eccentric-induced muscle injury, a 1-minute biceps protocol, repeated over several days, showed moderate improvements in ROM (approximately 6–8° vs. control at 24–72 h), with no clear changes in isometric strength. ( pmc.ncbi.nlm.nih.gov )
- There are also studies (2024) where a 5-minute application immediately after intense calf exercise showed little effect on physical measures and suggested caution if the goal is to "recover" immediately to perform again within a few hours. ( pmc.ncbi.nlm.nih.gov )
Golden rules before starting (safety + effectiveness)
Basic parameters: how long, how much pressure, and how to move
In actual clinical practice, the parameters vary considerably. A review (2023) reports that, in a survey of clinicians, ranges of 17–40 Hz , times of 30–180 s , and cadences of 2–10 s were frequently used. ( pmc.ncbi.nlm.nih.gov )
Translated into a practical guide (safe and easy to apply):
- It starts at low intensity and only increases if the tissue "accepts" it.
- Light to moderate pressure : let the head do the work; don't "squash" the muscle.
- Keep moving : glide slowly over the muscle belly; avoid staying still for too long.
- Pain rule : Look for an intense but tolerable sensation (ideally <4/10). If sharp pain, tingling, or loss of strength occurs, stop.
- Breathe : exhale as you pass over sensitive points; if you hold your breath, it is usually a sign of excessive pressure.
Areas to avoid and common contraindications
Avoid applying percussion to:
- Bone / joint (spine, kneecap, ankle, clavicle, shoulder blade, elbow).
- Neck (especially front and side), face, eyes and head.
- Superficial neurovascular bundles (where you feel the pulse), armpit and groin.
- Wounds, burns, recent bruises, rashes, or areas with skin infection.
And consult a healthcare professional before using it if you have: suspected thrombosis , clotting disorders, are taking anticoagulants, have osteoporosis, neuropathies with loss of sensation, are pregnant, or have a complex medical condition. These precautions appear in both clinical recommendations for general audiences and reviews that compile described contraindications and adverse events. ( pmc.ncbi.nlm.nih.gov )
Warning signs (leg): Throbbing pain in one leg, swelling, warmth, and redness may be consistent with symptoms of deep vein thrombosis . In that case, do not use massage and seek medical attention. ( nhs.uk )
Typical accessories (heads) and when to use them
- Ball (round) : "all-round" option for large muscle groups (quadriceps, glutes, back).
- Flat : useful on wide and less "pointed" surfaces (ischial tuberosities, upper back).
- Fork (U) : for working on the sides of structures (e.g., paravertebral) without touching bone.
- Bullet/point : only if you have experience and with great caution; it tends to be more aggressive in sensitive areas.
Guide by muscle groups: legs, back, glutes and shoulders
Quick table of recommended parameters by zone
| Area | Main objective | Intensity | Estimated time | Suggested head | Avoid |
|---|---|---|---|---|---|
| Legs (quadriceps/hamstrings/calves) | Release load, prepare for movement | Low-medium | 30–90 s per muscle | Ball or flat | Patella, popliteal fossa, tibia |
| Back (dorsal/rhomboid/trapezius) | Reduce postural tension | Low-medium | 30–60 s per zone | Flat or ball | Spine and neck |
| Paravertebral (on both sides of the spine) | Lumbar/thoracic unloading (without touching bone) | Low | 20–40 s per side | Fork (U) | Spinous processes |
| Glutes (maximus/medius/piriform) | Relieve hip pain, improve "feel" when running/sitting | Average | 45–120 s per side | Ball | Sacrum, sciatic tingling area |
| Shoulders (deltoid/upper trapezius) | Offload neck/shoulder without risk | Low | 20–45 s per zone | Ball or flat | Neck, collarbone, armpit |
Legs: protocol by muscle (step by step)
1) Quadriceps (front of the thigh)
When to use it: before leg training (squats, lunges) to "wake up" the area; or afterwards to reduce tension.
- Sit with your leg relaxed (knee slightly bent).
- With a ball or flat head, move slowly from the middle of the thigh towards the hip, avoiding the kneecap.
- Do 2–3 runs of 15–20 seconds and then switch “lanes” (outer/center/inner).
Total time: 45–90 s per thigh.
2) Hamstrings (back of the thigh)
Objective: feeling of tightness in the back (especially if you run or spend a lot of time sitting).
- Rest your thigh on a surface or lie face down.
- It runs along the muscle belly from below the gluteus maximus to in front of the back of the knee.
- If you find a sensitive spot, don't dwell on it : reduce intensity, expand the movement around it, and breathe.
Total time: 45–90 s per leg.
3) Gastrocnemius and soleus (calf)
Objective: to relieve calf strain (running, jumping, walking a lot) and facilitate ankle mobility.
- While seated, rest your foot and relax your ankle.
- Work the gastrocnemius (more superficial) and then the soleus (more lateral and deep) with moderate pressure.
- Avoid the hollow behind the knee (vascular/nerve area) and the direct Achilles tendon.
Useful fact: A 5-minute local intervention on the calf muscle has been associated with small but measurable improvements in ankle ROM (2024). ( pubmed.ncbi.nlm.nih.gov )
4) Adductors (inner side) and lateral band (with caution)
On the inner thigh, use low intensity and short durations: it's a sensitive area. On the lateral side, many discomforts are felt near the tensor fasciae latae; don't look for "deep pain," but rather tolerance and gentle movement.
Back: how to do it without touching the spine or neck
1) Latissimus dorsi (side of the back)
Ideal for: people who train with pulling movements (pull-ups/rows) or spend many hours sitting down.
- Standing or leaning against the wall, place the headrest on the lateral muscle (below the armpit, but without entering the armpit).
- Move down and back in slow 10–15 s passes.
- Alternate between 2–3 zones (high/medium/low) instead of focusing on a single point.
2) Middle/lower trapezius and rhomboids (between scapulae)
Objective: to relieve postural tension in the upper back.
- Use a flat or ball head.
- Work the muscle, not the bone: surround the edge of the scapula, without "tapping" on it.
- If tingling appears towards the arm, reduce intensity or change the area.
3) Lumbar region (paravertebral): only on the sides
The rule is simple: never over the spine . If you want to work your lower back:
- Use fork (U) to go parallel to the column.
- 20–40 s per side, low intensity.
- If the pain is sharp or "electric," stop: it may not be muscular.
Safety guidelines typically emphasize avoiding the spine and neck, as well as areas with superficial nerves/vessels. ( pmc.ncbi.nlm.nih.gov )
Glutes: the “hub” of the hip (and how to avoid irritating the sciatic nerve)
1) Gluteus maximus (large surface area)
Ideal for: runners, squats, people with strained hips from sitting.
- Sitting or lying on your side, relax your leg.
- With a ball head, it covers the entire gluteal mass in "quadrants".
- 45–120 s per side, with medium intensity.
2) Gluteus medius (lateral hip)
This is a key area for pelvic stability. It works just above the side of the hip, avoiding the greater trochanter. Keep the holds short (30–60 seconds), as it can be sensitive.
3) Piriform zone (deep) with caution
If you feel radiating pain (tingling down your leg), don't push too hard . For glutes, it's better to work with a wider range of motion and less aggressively. Remember: "harder" doesn't equal "better."
Shoulders: unload without getting into the neck
1) Deltoid (anterior, middle and posterior)
Typical use: shoulder presses, overhead work, or keyboard/mouse use.
- Work each portion for 20–30 seconds at low intensity.
- Avoid clavicle and direct articulation.
- If you are very sensitive, use a flat print head and lower speed.
2) Upper trapezius (muscle only, away from the neck)
You can work the upper trapezius, but don't use the massage gun on your neck . Safety recommendations (including those from clinical and educational settings) advise against using it on the neck due to the presence of sensitive structures, and recommend sticking to larger muscle groups. ( blog.prismahealth.org )
Ready-to-use protocols (pre-workout and recovery)
Pre-training protocol (5–8 minutes)
- Legs: quadriceps 30–45 s + hamstrings 30–45 s + calves 30–45 s per side.
- Glutes: 45 seconds per side.
- Shoulders (if you train upper body): deltoids 20–30 seconds per side.
Key: low-medium intensity, a feeling of activation, not of "hammering".
Post-training protocol (6–12 minutes)
- Choose 2-4 muscles that you notice are the most strained.
- 60–120 s per muscle, maintaining continuous movement.
- If you've had a tough leg workout and want to recover "for today," keep in mind that some data show limited effects immediately after exertion in certain contexts (2024). ( pmc.ncbi.nlm.nih.gov )
Common mistakes (and how to correct them)
-
Mistake: staying still on a painful spot.
Correction: Low intensity, expand the area around and limit to 10–15 s per point. -
Error: going "full speed ahead" from the first second.
Correction: Start gently; the tissue adaptation improves tolerance without irritation. -
Error: using it on the neck, joints, or bones.
Correction: Only large muscle bellies; if in doubt, don't do it. ( pmc.ncbi.nlm.nih.gov ) -
Error: using it as a substitute for diagnosis (unusual, radiating pain, loss of strength).
Correction: If it is not "clearly muscular," professional evaluation is required. -
Error: very long and aggressive sessions.
Correction: The literature indicates that repeated and aggressive use for extended periods (e.g., >30 min) may increase the risk of injury and adverse events. ( pmc.ncbi.nlm.nih.gov )
How to integrate percussion massage into a Kumo recovery routine
At Kumo, we understand recovery as a system: percussion massage is one piece, not the whole puzzle. Depending on your goal, you can easily combine it with other technologies.
- Heavy or swollen legs: alternate gentle percussion (2–6 min) with sessions of pressotherapy boots , focused on comfort and circulation.
- Muscle recovery and wellness routine: consider support with LED light therapy as part of your recovery hygiene (especially on loading days).
- Daily self-care: Use percussion in “microdoses” (30–60 seconds per area) instead of one long, intense session.
FAQ: Frequently asked questions about percussion massage and Kumo
How to use the KumoPulse Air on tired legs without overloading the calves?
For tired legs, the key is gentleness and direction : work your quadriceps and hamstrings first (45–60 seconds per muscle) and leave your calves for last (30–45 seconds). Keep the massage head moving and avoid the popliteal fossa (behind the knee). If you notice excessive sensitivity, reduce the intensity and switch to longer strokes. If there is also swelling or unusual pain in one leg, do not massage and assess for warning signs of thrombosis (pain, heat, redness, swelling). ( nhs.uk )
Can Kumo percussion massage be used before strength training?
Yes, but as a brief activation , not as a “deep treatment.” A useful protocol is 30–45 seconds per primary muscle group you’re going to use (e.g., glutes and quads before squats), at low to medium intensity. The goal is to improve your sense of mobility and prepare for movement. Evidence suggests short-term improvements in range of motion in some contexts, but it doesn’t guarantee improvements in explosive performance; therefore, keep the stimulus short and then transition to a dynamic warm-up. ( pmc.ncbi.nlm.nih.gov )
What should I do if, when using the massage gun, I feel tingling or a "current" sensation in my arm or leg?
Stop application immediately. Tingling usually indicates you are near a nerve or a particularly sensitive spot. Resume only if you can work more superficially , with less intensity, and over a wider area of the muscle belly (not on "exact points"). Avoid high-risk areas such as the armpit/groin and, especially, the neck. If tingling persists, or if weakness or sharp pain develops, it is wise to consult a physical therapist or doctor to rule out non-muscular causes. ( pmc.ncbi.nlm.nih.gov )
How long is recommended per muscle with a massage gun like KumoPulse Air?
As a general rule of thumb for home use: 30–90 seconds per muscle is usually sufficient, with 2–4 muscles per session. For a reference based on actual use in clinical settings, typical times of 30–180 seconds have been reported in surveys of practitioners, although there is no universal standard. Excessive time or pressure can lead to increased irritation and sensitivity. Short, consistent sessions are better than long ones. ( pmc.ncbi.nlm.nih.gov )
So what now?
If you want to make recovery a habit (not something you only do when it "hurts"), explore Kumo's comprehensive approach: the KumoPulse Air as a muscle release tool, compression boots for legs, and LED light therapy to support your wellness routine. If you need guidance on using these technologies consistently in your daily life, you can contact the Kumo team .
External sources (recommended reading)
- Systematic Review (2023): The Effects of Massage Guns on Performance and Recovery (PMC) . ( pmc.ncbi.nlm.nih.gov )
- Study (PubMed): Acute Effects of Local High-Frequency Percussive Massage… (Ankle ROM) . ( pubmed.ncbi.nlm.nih.gov )
- Study (2024, PMC): Percussive Massage and Eccentric Muscle Injury (ROM 24–72 h) . ( pmc.ncbi.nlm.nih.gov )
- Study (2024, PMC): Under the Gun… recovery after calf exercise . ( pmc.ncbi.nlm.nih.gov )
- Prisma Health (2022): Tips for safely using a massage gun . ( blog.prismahealth.org )
- NHS: Deep vein thrombosis (DVT) — symptoms and emergencies . ( nhs.uk )
