

An LED mask shouldn't hurt or overwhelm you.
For a comfortable and effective session, two decisions make all the difference: the actual intensity your skin receives (dose) and how the mask fits (contact, pressure, stability). In this guide, Kumo explains how to interpret common settings (power levels, time, modes) and how to position the mask to maximize uniformity and tolerance, without falling into the trap of thinking "stronger is better."
If you're exploring this type of technology, you can see the brand's universe at Kumo and the selection of devices in the LED light therapy collection .
1) The basics: “intensity” is not (just) brightness
Irradiance, fluence, and time: the 3 variables that matter
In photobiomodulation (PBM), what determines the biological stimulus is not the perceived “brightness”, but the energy that arrives per cm² of skin:
- Irradiance (mW/cm²): luminous power that reaches the skin at any given moment.
- Time (seconds or minutes): duration of exposure.
- Fluency or dose (J/cm²): total energy delivered. It is calculated as follows: J/cm² = (W/cm²) × seconds .
In clinical studies of PBM for skin, very different combinations of irradiance and time to achieve similar doses have been reported, and dose-dependent responses have also been observed. For example, a controlled trial (2014) used red/polychromatic light with doses in the range of ~ 9 J/cm² in the red band and total exposures (depending on the spectrum) that could exceed 15–50 J/cm² , varying irradiance and duration by group. ( pmc.ncbi.nlm.nih.gov )
The golden rule: avoid “more is better”
PBM is associated with a “biphasic” response in multiple models: doses that are too low may be insufficient, and doses that are too high may reduce benefits or increase irritation in some individuals. In cell cultures (fibroblasts), lower doses have been observed to favor viability markers compared to higher doses. ( pubmed.ncbi.nlm.nih.gov )
2) How to choose the correct intensity in an LED mask (step by step)
Step 1: Identify what control your mask offers (level, distance, time)
In practice, “intensity” can change in three ways:
- Power levels (Low/Medium/High): modifies irradiance.
- Time (8, 10, 15, 20 min): modifies the final dose.
- Contact vs. separation : even a few millimeters of air due to a poor fit can reduce effective energy and uniformity.
If your device does not publish irradiance (mW/cm²), you should refer to the manufacturer's manual and their recommended protocol. If it does publish irradiance, you can estimate the dose with a simple calculation (see table below).
Step 2: Start with the most tolerable dose, not the highest.
For the first week, prioritize adherence and comfort:
- Start with the lowest available level and an average time (for example, the minimum recommended time).
- Evaluate 24 hours later : tightness, persistent redness, feeling of "residual heat", breakouts or dryness.
- If tolerance is good, only one variable (either time or level) increases, not both at the same time.
The American Academy of Dermatology (AAD) emphasizes that the most common side effects are usually mild (e.g., temporary irritation) and recommends following the device instructions and wearing eye protection if indicated. ( aad.org )
Step 3: Adjust the intensity according to your goal (skin vs. acne vs. blemishes)
Without making medical promises, we can guide you on the “type” of session:
- Texture, fine lines, skin comfort : these are usually treated with red light (and sometimes near-infrared), aiming for consistency and good tolerance. In rejuvenation trials (2014), 30 sessions were performed (2/week) with irradiance and duration parameters varying according to the group. ( pmc.ncbi.nlm.nih.gov )
- Inflammatory acne : Blue light is a spectrum used in research. A clinical study (2006) used 415 nm blue LEDs with a protocol of 2 sessions/week for 4–8 weeks (20 min) and reported good tolerance, using a reported dose of 48 J/cm² . ( pubmed.ncbi.nlm.nih.gov )
-
Tendency towards hyperpigmentation or melasma : be extremely conservative and, if in doubt, consult a dermatologist. Reviews on visible light describe that it can induce or worsen pigmentation more markedly in darker skin tones, especially with certain wavelengths and exposures. ( pmc.ncbi.nlm.nih.gov )
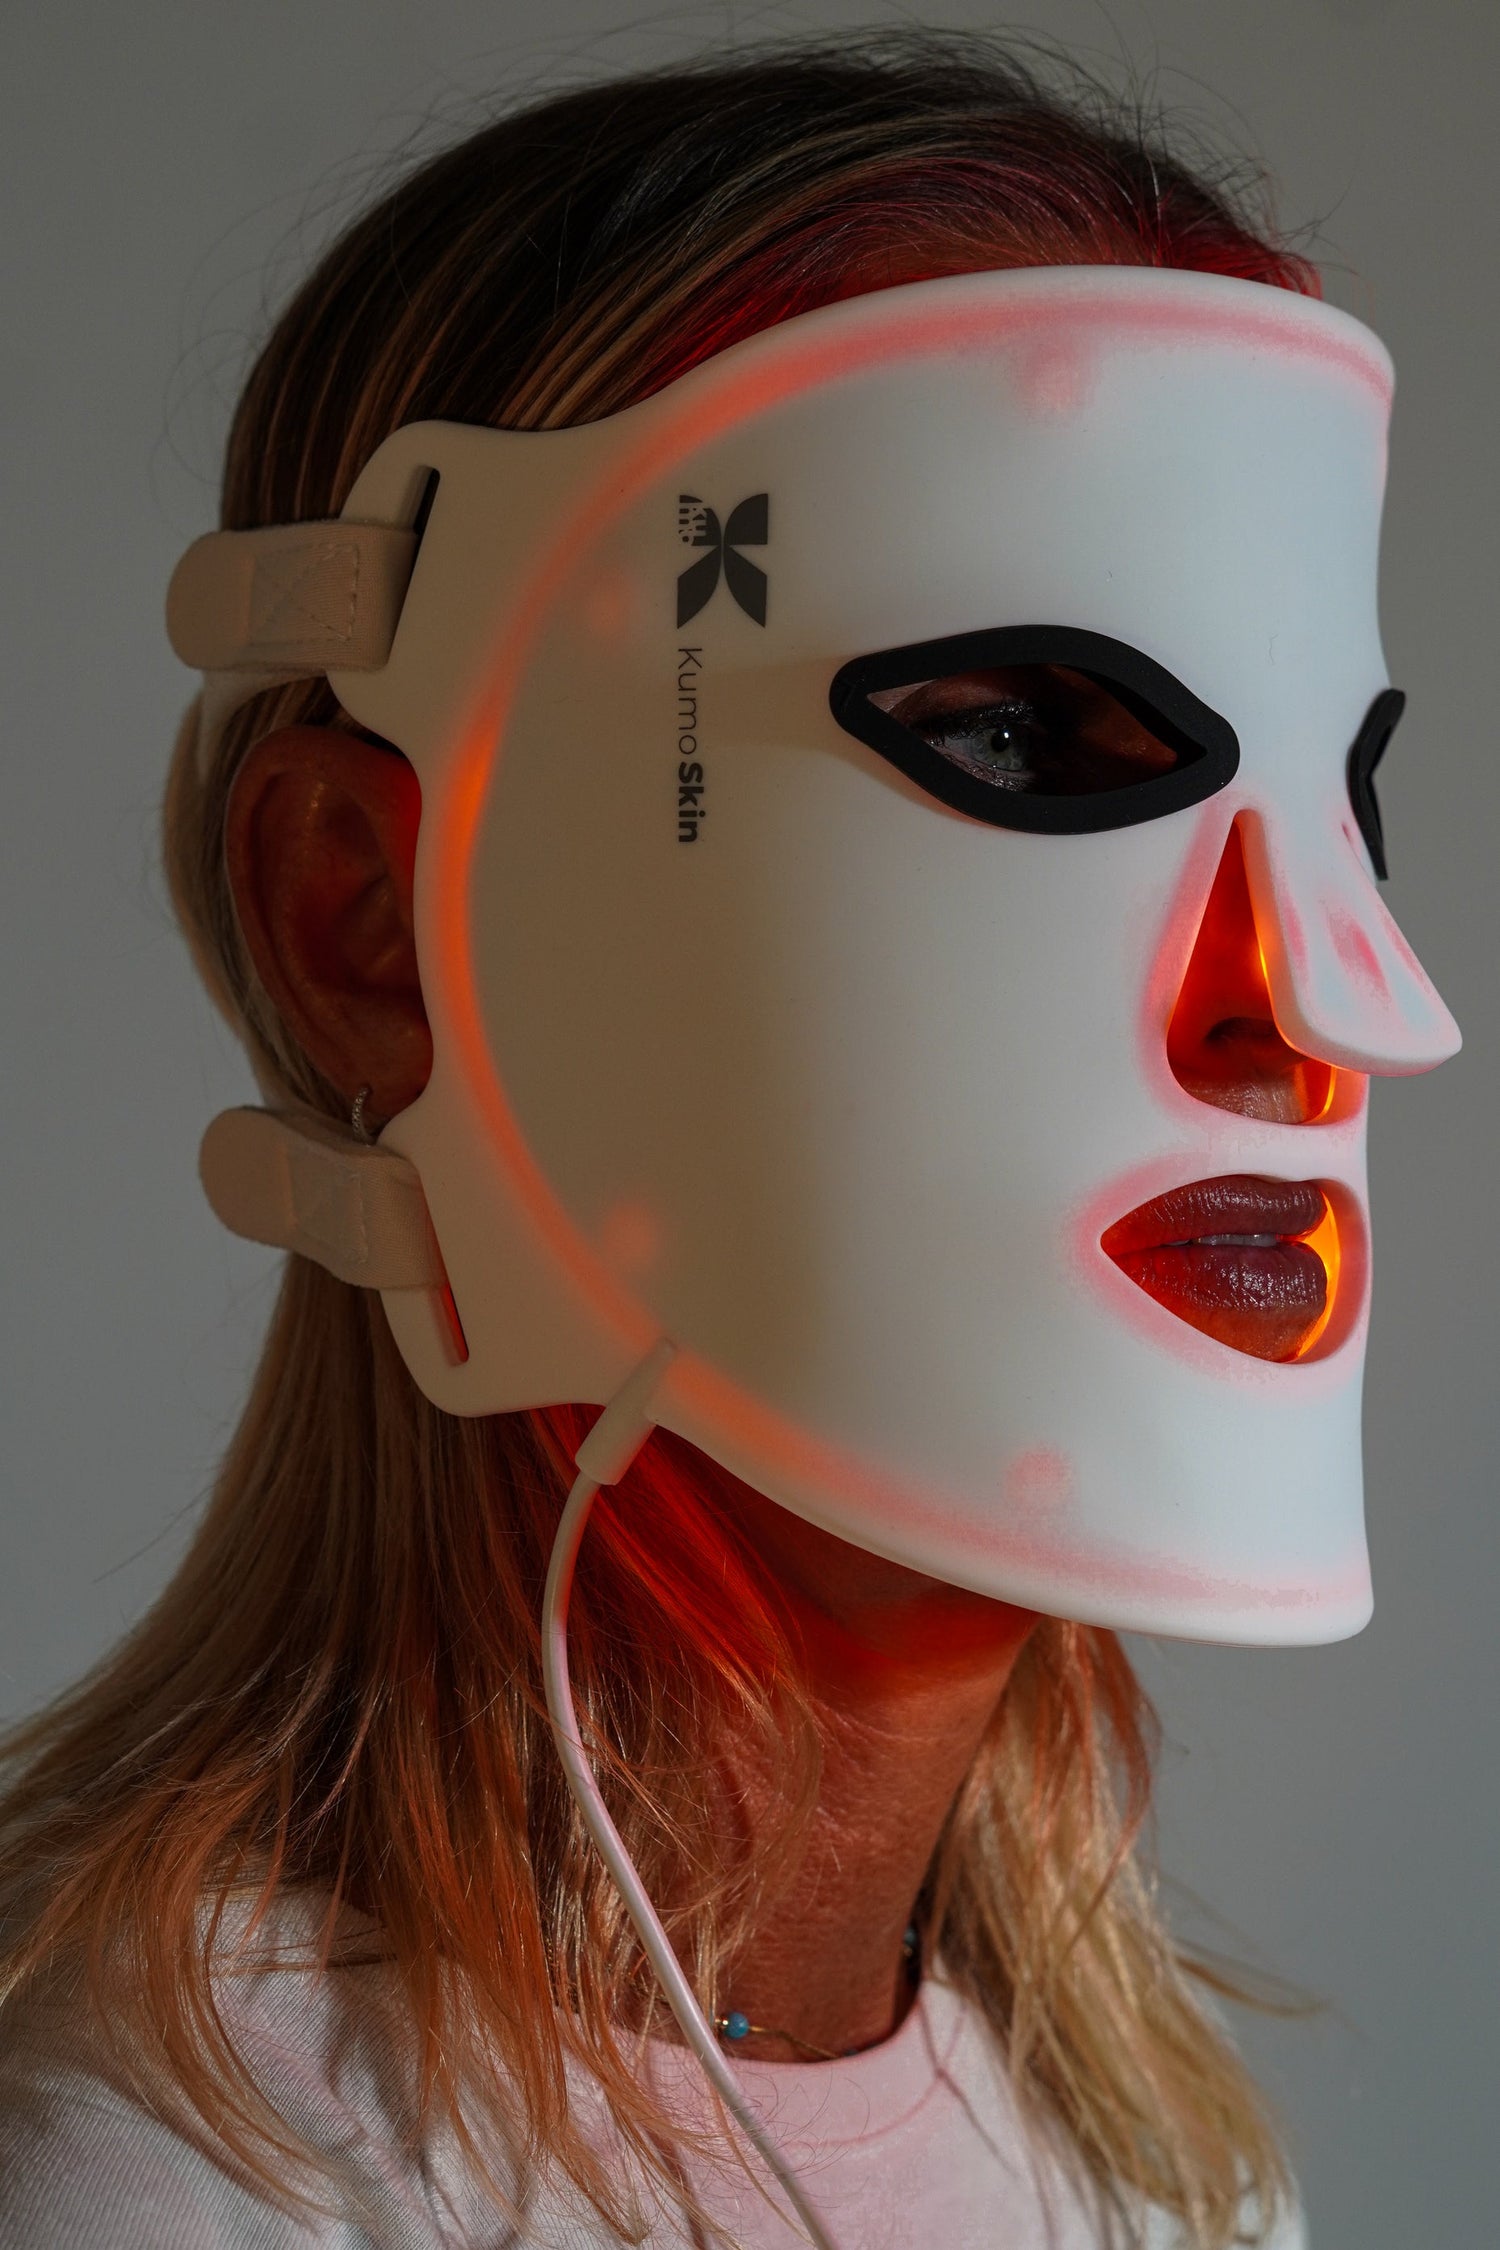
3) Perfect fit: how to position the mask so that it is comfortable and uniform
The goal of the fit: stable contact without pressure points
A well-fitting mask seeks two things at once:
- Uniformity : that the distance between LEDs and skin is as constant as possible (without “floating zones”).
- Comfort : no pressure on the bridge of the nose, cheekbones, jaw or temples.
Placement checklist (30 seconds before each session)
- Clean, dry skin : reduces slippage and improves consistency.
- Hair pulled back (headband/towel): prevents the mask from "bouncing" on the forehead.
- Align eyes and nose before tightening straps.
-
Adjust straps in two steps :
- First, it shouldn't fall off if you talk or take a deep breath.
- Then, micro-adjustments to eliminate gaps without tightening .
- Check pressure points : if deep marks remain when finished, you were pressing too hard.
Comfort tricks that don't sacrifice effectiveness
- A thin towel should be placed under the strap (at the nape of the neck) if you feel pressure.
- Shorter sessions at first if you feel hot or overwhelmed: consistency usually beats heroism.
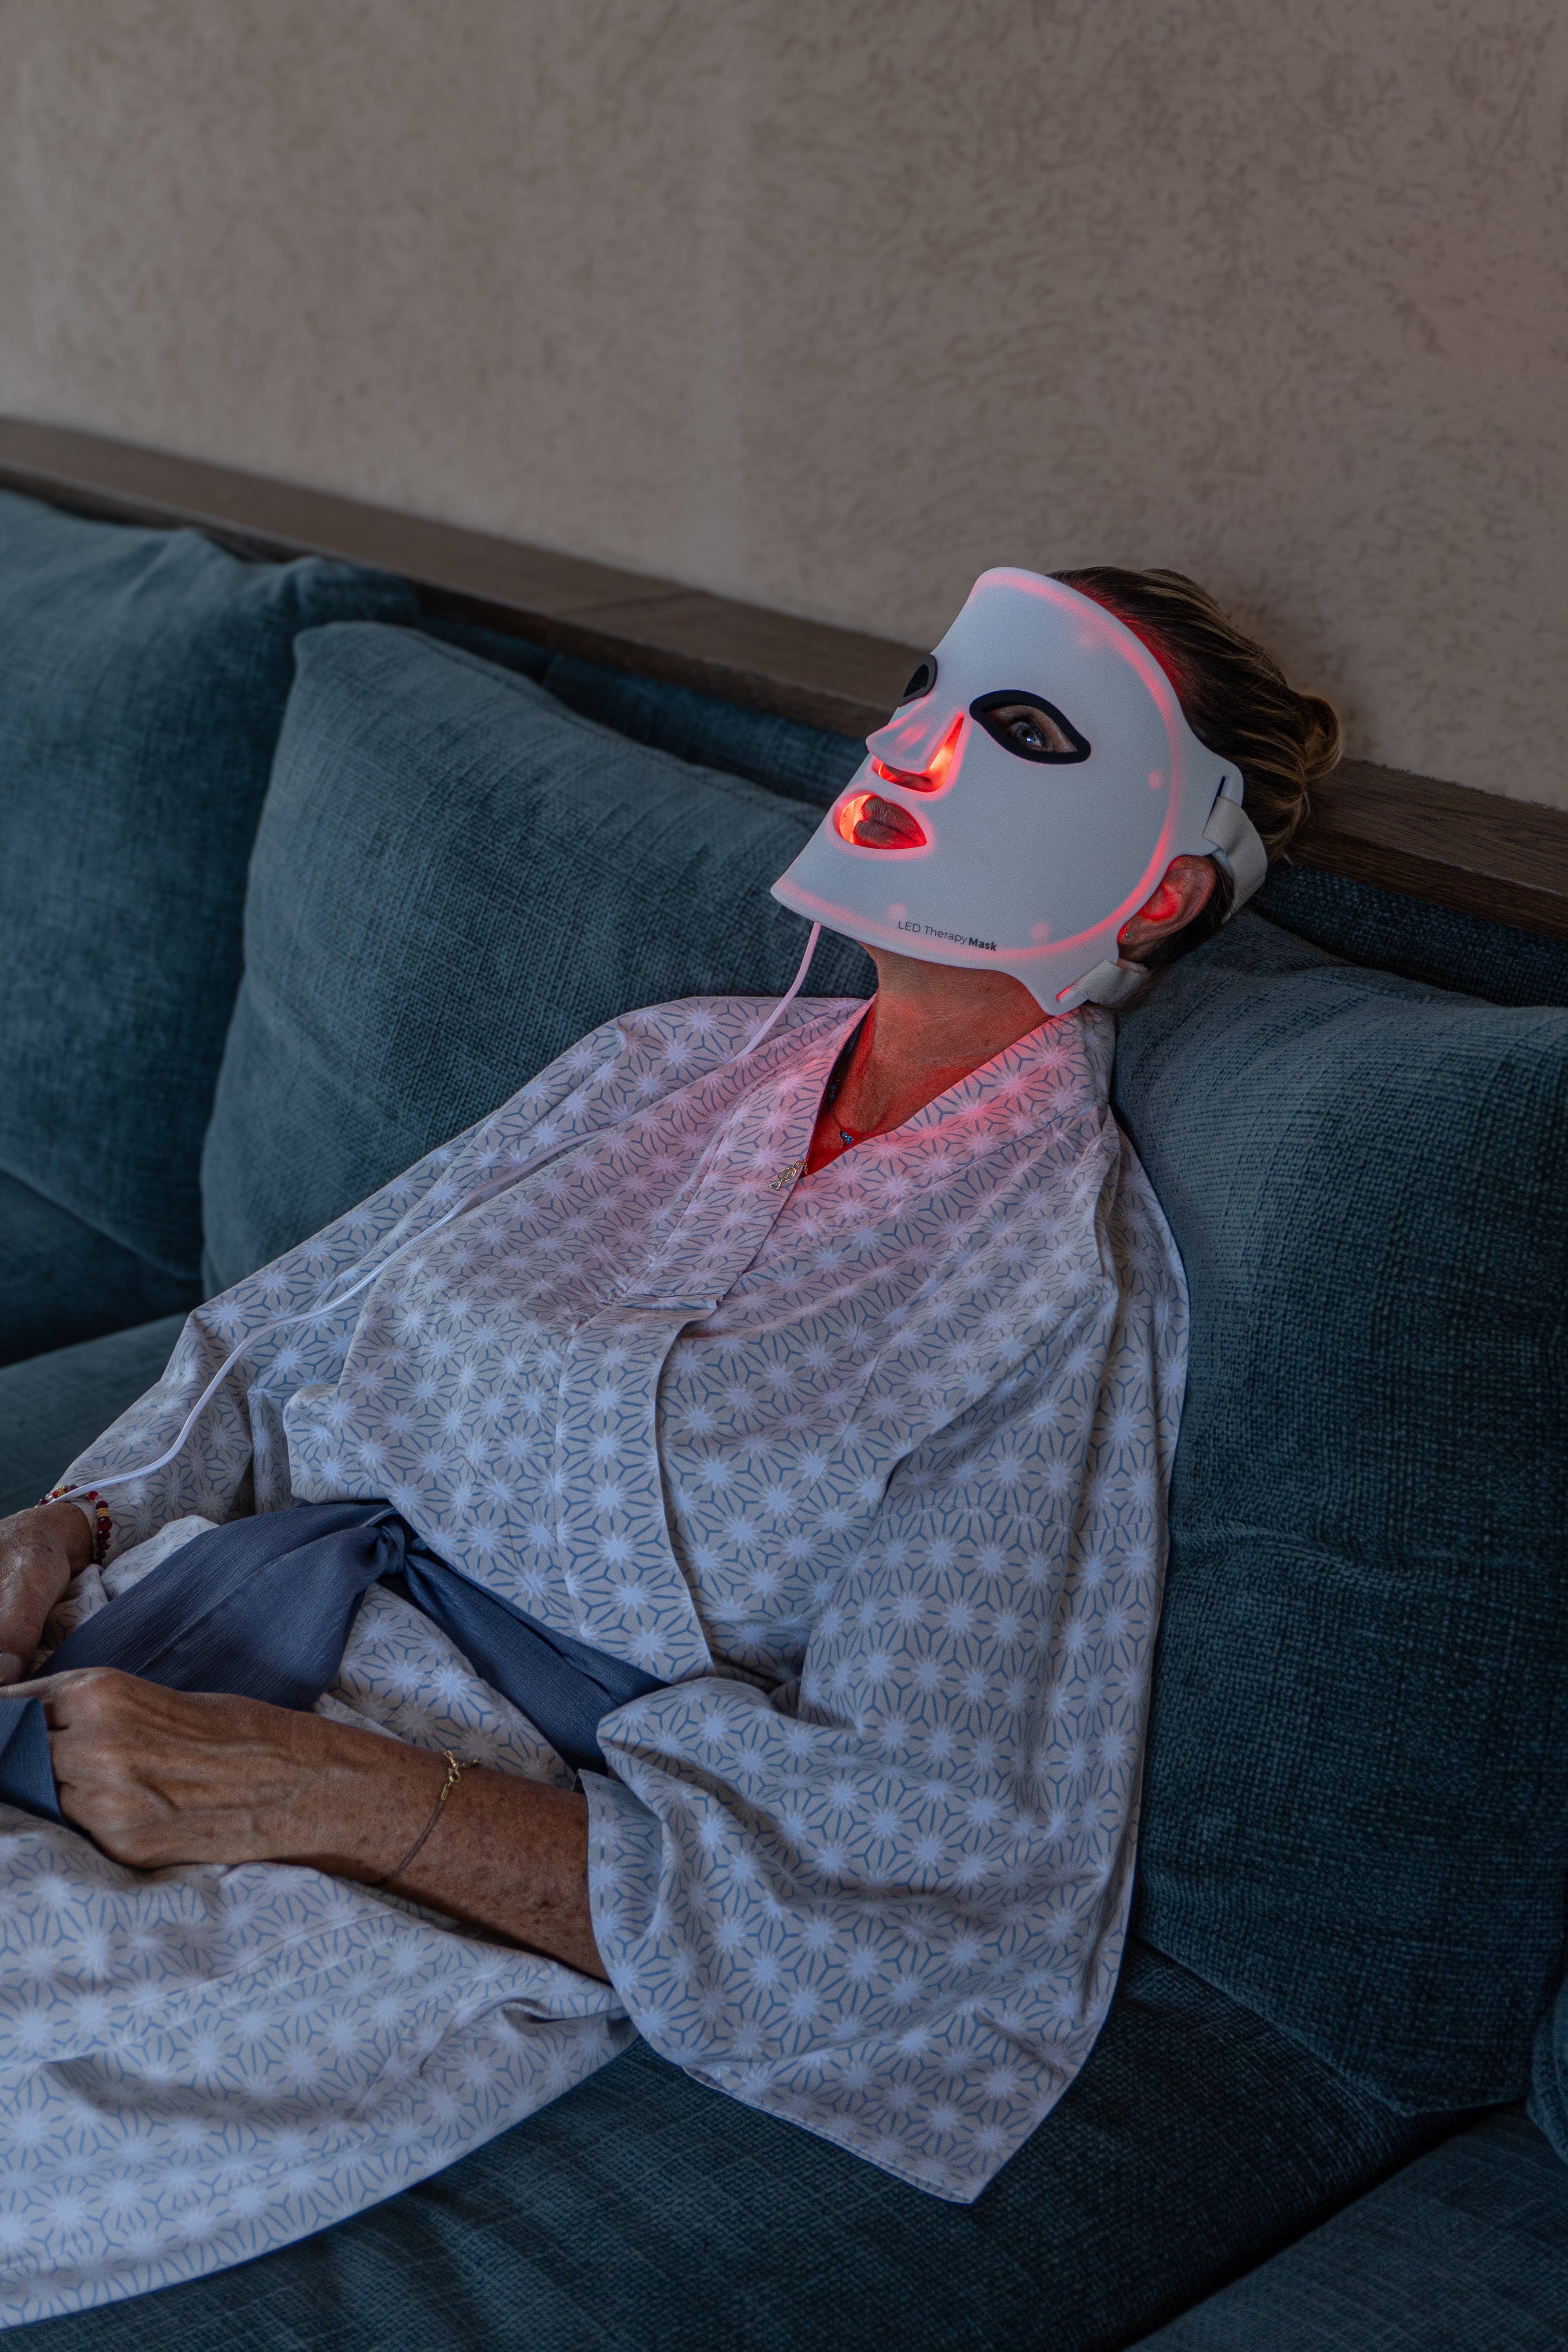
- Semi-reclined posture (pillow): reduces load on nose and cheeks.
4) Practical table: converts “level + minutes” into dose (J/cm²)
Quick guide to calculating the dose when the manufacturer gives the irradiance
- × (min ×
Example of indicated irradiance Session time Estimated dose (J/cm²) What does it mean in practice? 10 mW/cm² 10 min 6 J/cm² Gentle session: good for beginners or for sensitive skin. 20 mW/cm² 10 min 12 J/cm² Moderate session: useful if you tolerate it well and are looking to progress. 40 mW/cm² 10 min 24 J/cm² Intense session: move up cautiously and observe your skin's response. 10 mW/cm² 20 min 12 J/cm² Alternative to increase dose without increasing potency (sometimes more convenient). For a sense of “order of magnitude,” a 2013 review in dermatology compiled devices with reported power densities ranging from tens to over 100 mW/cm² and standard doses that, depending on wavelength and application, could range from ~48 to over 100 J/cm² in some clinically used systems. This doesn’t mean you should chase those numbers at home; it means that parameters and targets matter , and that it’s advisable to follow the manufacturer’s protocol and your own tolerance. ( pmc.ncbi.nlm.nih.gov )
5) Safety and tolerance: when to reduce intensity (or stop)
Eyes: Wear eye protection whenever the device indicates it is necessary.
Although many masks are designed for facial use, eye exposure to intense light sources should be treated with caution. The AAD recommends wearing eye protection if the instructions indicate it and not substituting it with ordinary sunglasses. ( aad.org )
Photosensitivity: medications, cosmetics and conditions to watch out for
- If you use retinoids , exfoliating acids, or are in periods of impaired barrier function, it may be more comfortable to lower the intensity or space out sessions.
- If you are taking photosensitizing medication or have a history of reactions to light, prioritize medical supervision (dermatology).
Lighting safety standards: what to look for (without going crazy)
In lighting, there are photobiological risk assessment standards (e.g., IEC 62471 ) that classify light sources by "risk groups" and exposure conditions. Seeing references to testing or regulatory compliance can provide reassurance, but the most practical approach for the user is to: follow recommended exposure times, avoid looking directly at the light source, and use eye protection when appropriate . ( luminusdevices.zendesk.com )
6) How to integrate your LED mask into a “Kumo” routine (without overloading the skin)
At Kumo, we understand recovery as a habit: skin, sleep, muscle, and circulation all benefit from consistency. A sensible way to integrate the LED mask is to keep everything else simple on session day: hydration, gentle cleansing, and avoiding harsh layers if your skin becomes sensitive.
- Explore the devices in the LED therapy section .
- If your priority is leg recovery and a feeling of lightness, you can complement it withpressotherapy (on alternate days, so as not to overload your schedule).
- For localized muscle release, consider the KumoPulse Air massage gun as part of a recovery routine.
FAQ: Frequently asked questions about intensity and adjustment in LED masks (Kumo)
What intensity should I use on a Kumo LED mask if I have sensitive skin?
The safest strategy is gradual: start with the lowest setting and the minimum time recommended by the manufacturer for 5–7 sessions, observing your skin the following day. If there is no tightness, persistent stinging, or redness that lasts for hours, increase only the time or only one power level. The literature on PBM shows that dosage matters and that “more” does not always mean “better,” so prioritize tolerance and consistency before increasing intensity.
How do I know if my LED mask is too tight or poorly fitted?
- You find it difficult to relax your jaw or frown, (
- Notes of tingling from compression in cheekbones/temples, or (
- When finished, deep marks (not just simple lines) remain that take time to disappear. A good fit is stable but not "pressurized": it should minimize gaps without creating painful spots. If your mask moves when you speak, tighten it slightly; if it hurts, loosen it and improve the alignment before tightening the straps again.
Is it better to increase the intensity or lengthen the time to improve results?
It depends on your comfort level and the device's capabilities, but at home it's usually easier to manage tolerance by slightly increasing the exposure time rather than increasing the power. Mathematically, both increase the dose (J/cm²). A controlled rejuvenation trial (2014) used different combinations of irradiance and duration to achieve the target dose, illustrating that there is more than one way to reach a similar exposure. In any case, change only one variable at a time and assess the skin response 24 hours later. ( pmc.ncbi.nlm.nih.gov )
Do I have to wear glasses with an LED face mask?
Always follow the instructions for your specific model. As a precaution, avoid looking directly at the light and use eye protection when recommended by the manufacturer. The AAD emphasizes following the device's instructions and using appropriate goggles if recommended, without substituting them with regular sunglasses. If you have severe dry eye, light-triggered migraines, or a pre-existing eye condition, it is wise to take extra precautions and seek medical advice before repeated exposure. ( aad.org )
So what now?
If you're ready to take the next step, discover Kumo 's premium recovery experience and explore LED light therapy to build a consistent and sustainable routine. And if you need guidance on which solution best suits your goals (skin, rest, or recovery), you can contact us through our contact page .
